Jenkins on Serverless Azure Container Instance
In this blog, we will learn how to run automation jenkins job on the Azure container instance which is the serverless container instance by the azure. before starting the blogs, make sure you have an active subcsription of the azure .
Tools we are using#
- Python 3.9
- Git
- GitHub
- Azure Container Storage
Downloading Azure CLI#
You can install the Azure CLI from the offical Mirosoft Documentation.
You can check wether the Azure Cli is installed or not by the following command.
Make sure you are using powershell in the adminstrator mode
az version
and the powershell will return you the installed version
{ "azure-cli": "2.26.1", "azure-cli-core": "2.26.1", "azure-cli-telemetry": "1.0.6", "extensions": {}}
Login To Azure Account using Azure CLI#
Before start creating the jenkins on the azure container we need to login to our azure account .
az login or you can refer to this official documentation.
Installation of Jenkins with Single Mounted Volume#
Go to the Azure Portal
Go to the Resource Groups
Click on the Create and create your Resource Group .
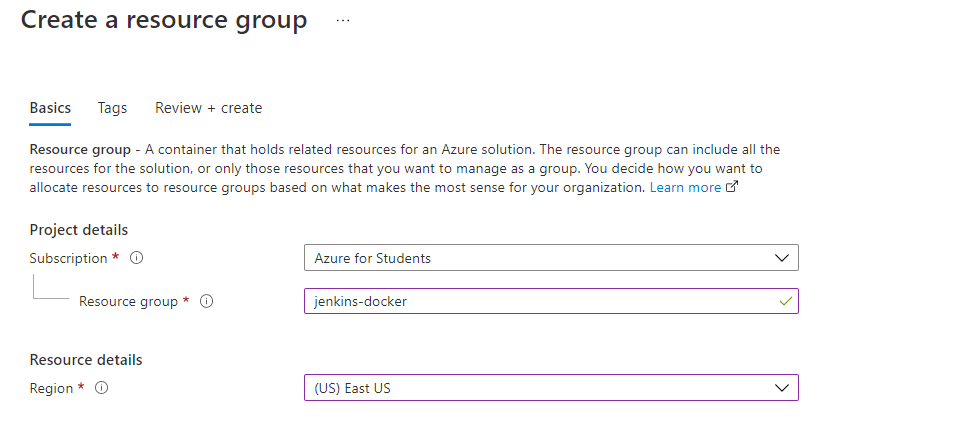
- When the resource Group will be created , now you need to create a container inside your resource group .
Please make sure the Container region is same as your ResourceGroup Region because it will provide low latency .
- Click on Create and then go to the Storage Account , and then click on the Create Button.
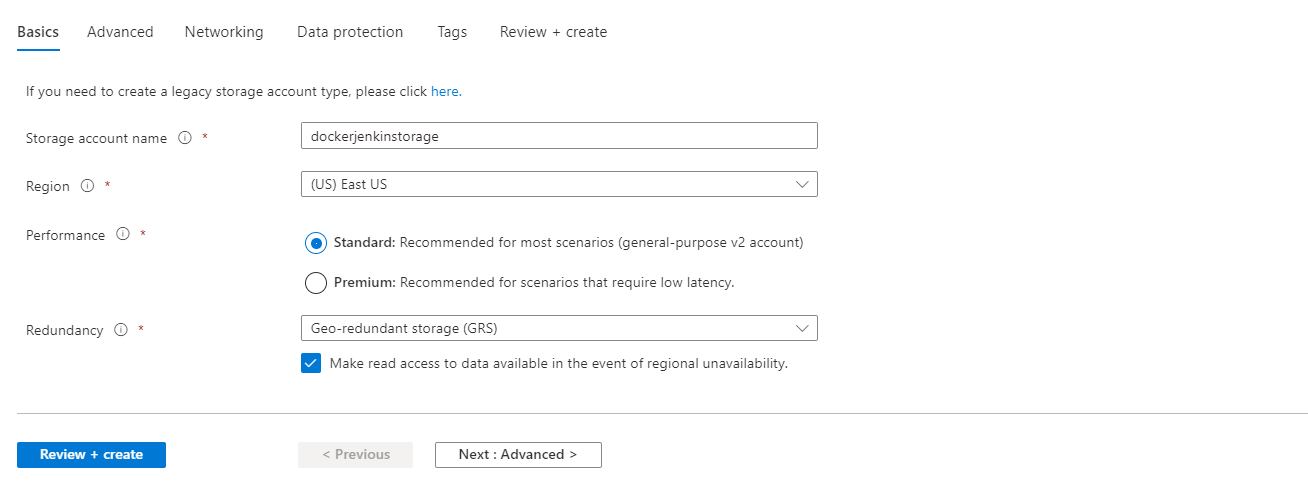
Review and Create your Container Storage.
Now go to the Resource and then on the left side Go to the Azure File
Now we need to create the file share
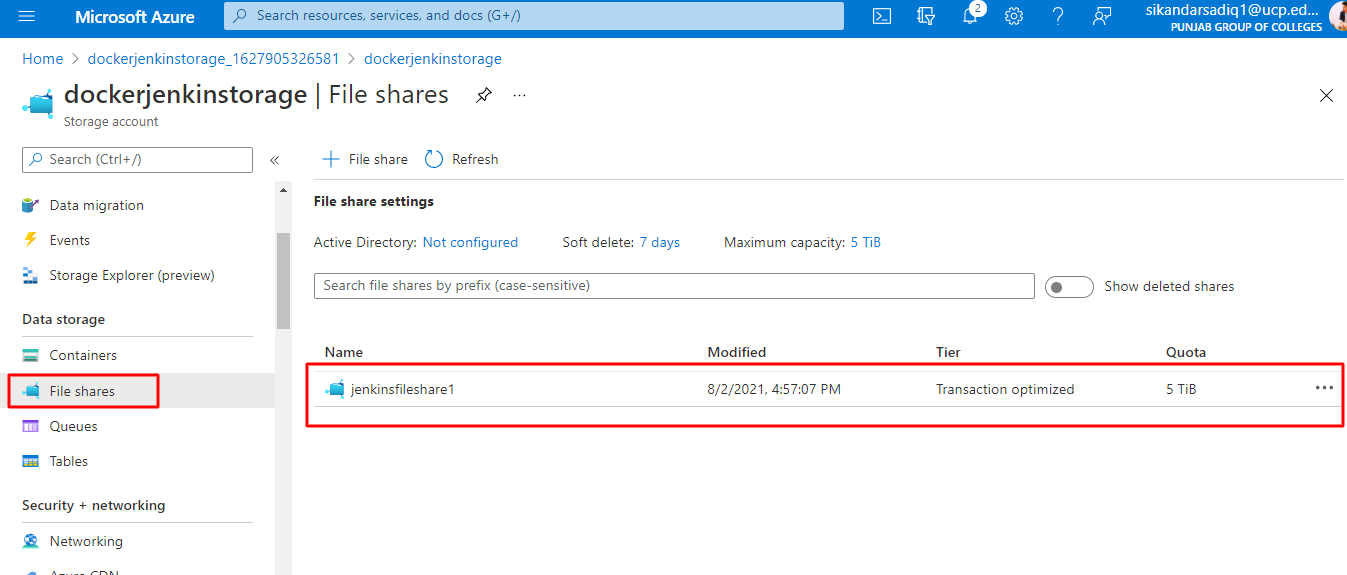
Now we need the Access keys to access the Container Storage
Go to the Security + networking , in the security and networking go to the access keys.
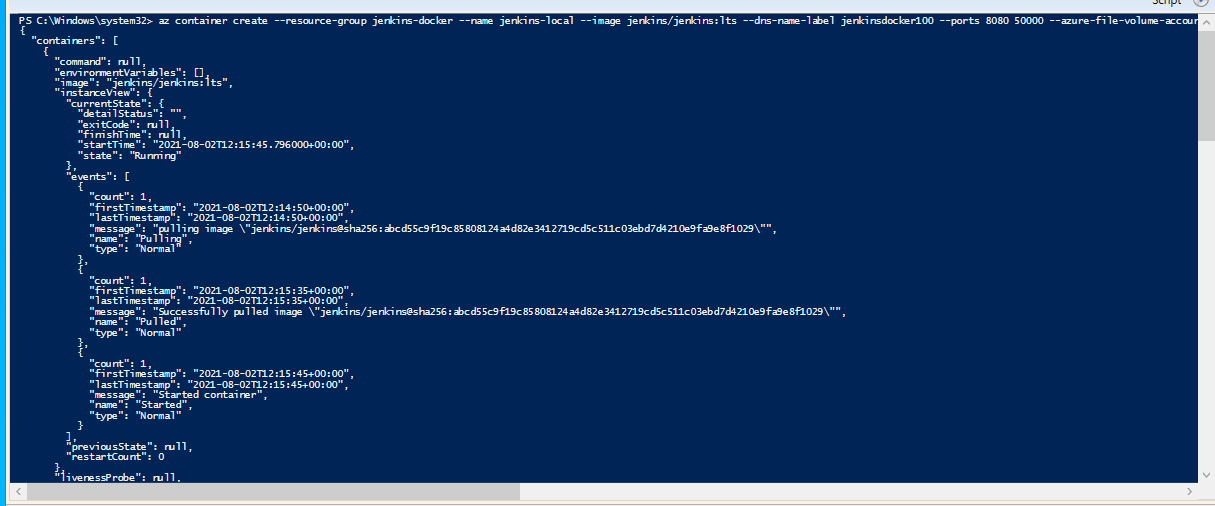
az container create --resource-group <resourceGroupName> --name <container-name> --image jenkins/jenkins:lts --restart-policy Never --dns-name-label <jenkins-dns-name> --ports 8080 50000 --azure-file-volume-account-name <azure-storage> --azure-file-volume-account-key <container-key> --azure-file-volume-share-name <azure-file-share-volume-name> --azure-file-volume-mount-path /var/jenkins_home
Output
- Now go to your Resource Group , and inside the Resouce group , now you will have jenkins-local which is the Azure Container Instance. If you go to the container storage and in the container storage , go to the file share , you will see that the jenkins files will be stored in the volume instance.
Always make sure docker is that the container is mounted with the volume , otherwise the jenkins will not stored the data permantely.
Starting Jenkins Server#
The Jenkins will extract all the files in the File share which you attached with the help of the Azure file share.
- Now go to the Container instances , and copy the public dns url . the url will look like this
http://jenkinsdocker100.eastus.azurecontainer.ioand jenkins will be working on the port 8080
http://jenkinsdocker100.eastus.azurecontainer.io:8080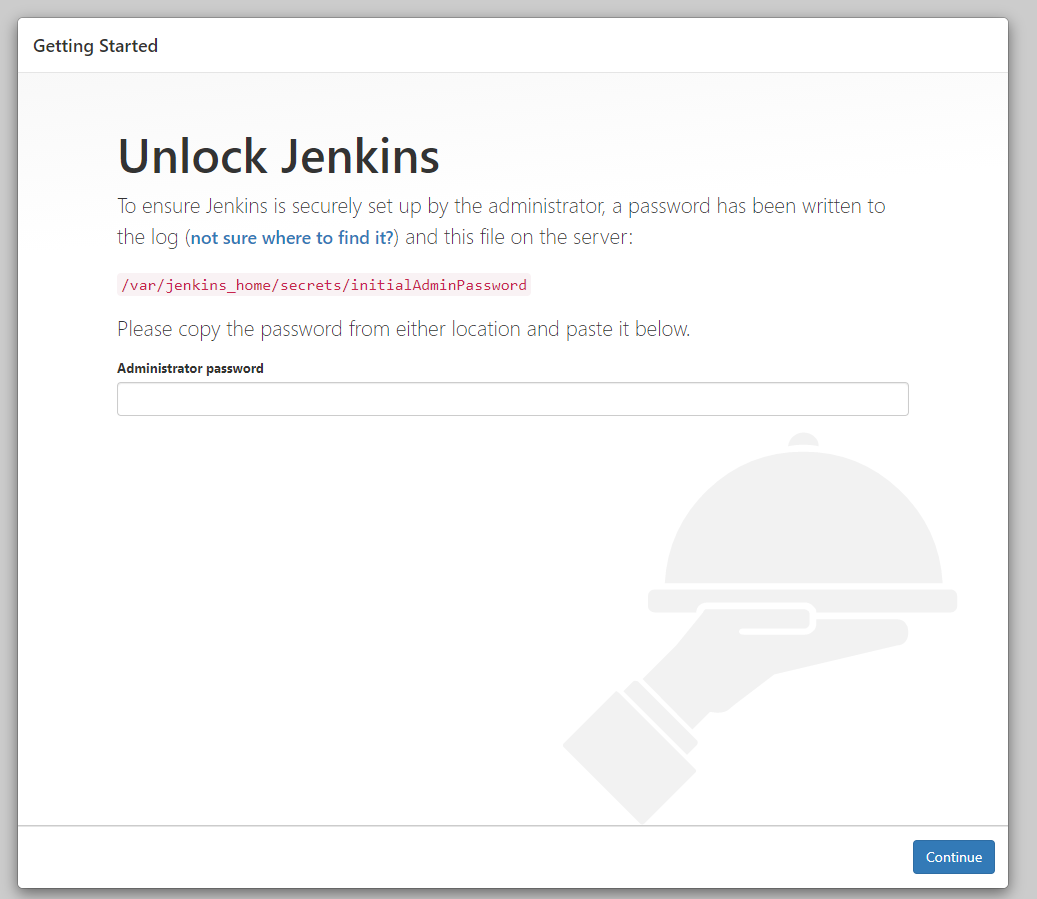
Now we need to copy the Settings which are availables on the left menu , in the settings go to the Containers.
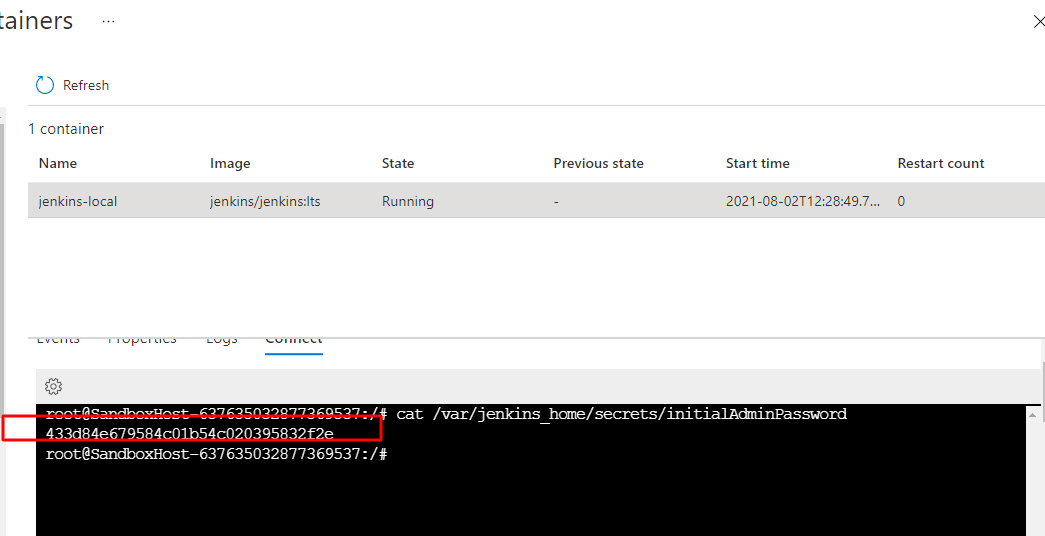
In the container , go to the connect , and connect to the docker instance, through which we will get the adminstartor password for the jenkins server.
the command will be look like this
cat /var/jenkins_home/secrets/initialAdminPassword
Installing Jenkins Plugin#
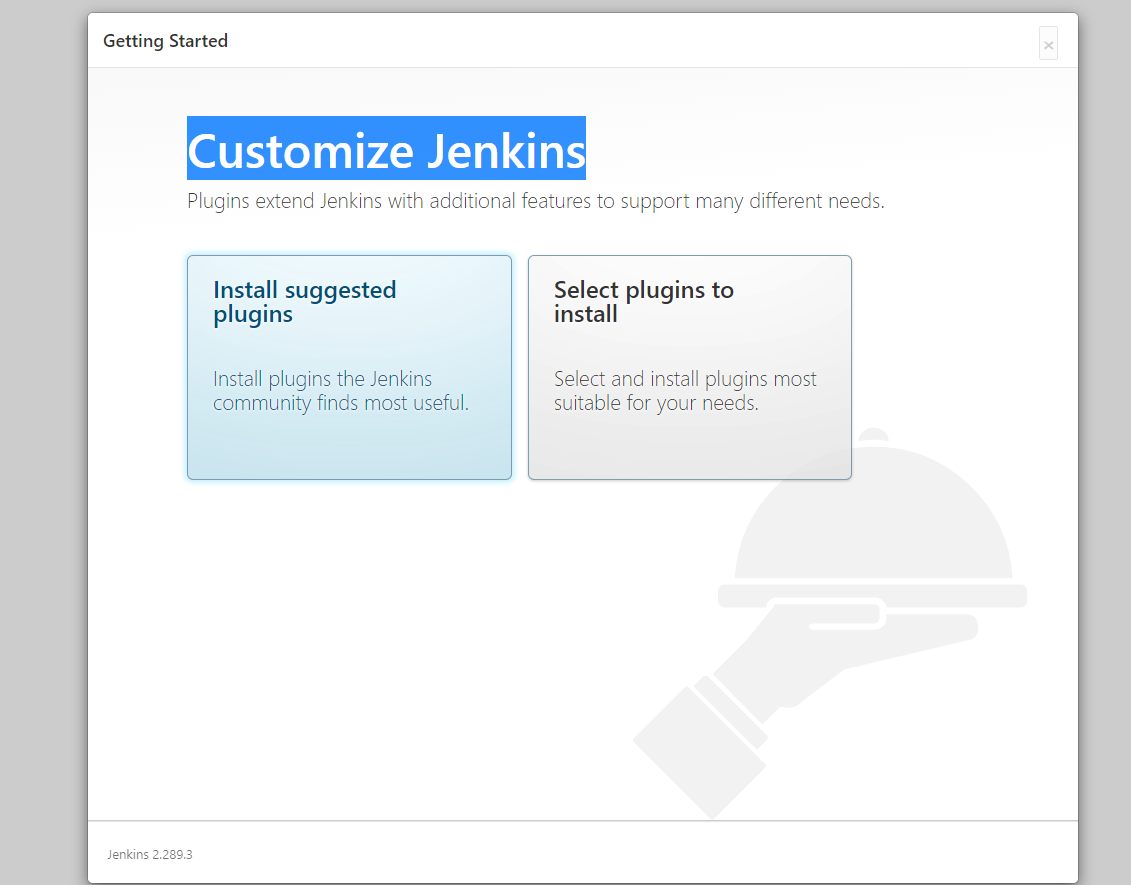
After geting the Jenkins Password, we need to install the jenkins plugins to our server.
- on the Customize Jenkins page , click on the installed suggested plugins
Incase of the Plugin Forbidden error then you need to restart the Jenkins server. by using this command you can restart your jenkins server
http://jenkinsdocker100.eastus.azurecontainer.io:8080/restart
and press Yes to restart your Jenkins Server.
Create First Admin User#
You can add your details to create an admin user or you can also skip and go as an admin.
Instance Configuration#
Your instance will be run on the port 8080 , so save and finish the setting without changes anything.
Yahoo ! Jenkins is now ready , now you can use your jenkins server.
before creating our first job we need to install the python latest verion and google chrome to our file , so you need to go to the Settings -> Containers and connect with your container instance.
Navigation to the File Share#
List Directories and files
lsList directories , files and hidden files
ls -a
Navigation to the Directory
cd var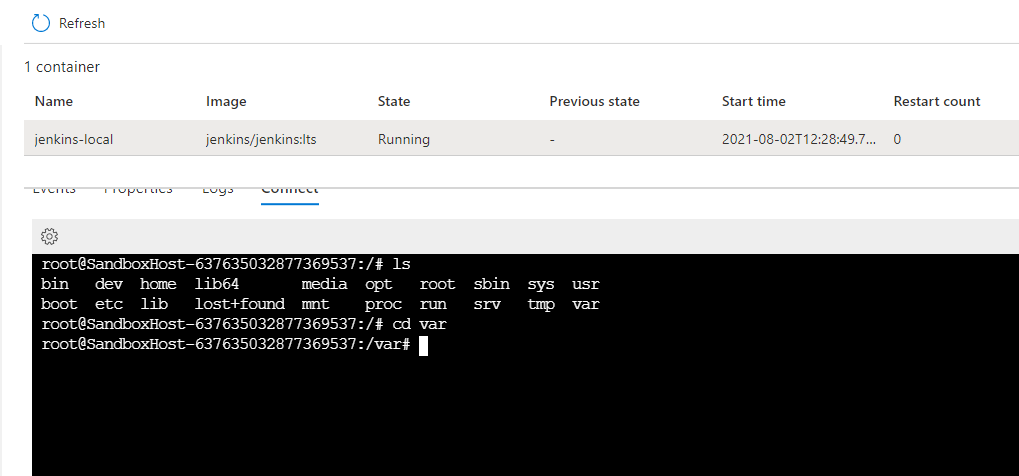
Installation of Python#
Navigating to the Permanent Storage#
cd jenkins_home
Downloading python#
wget https://www.python.org/ftp/python/3.9.6/Python-3.9.6.tgz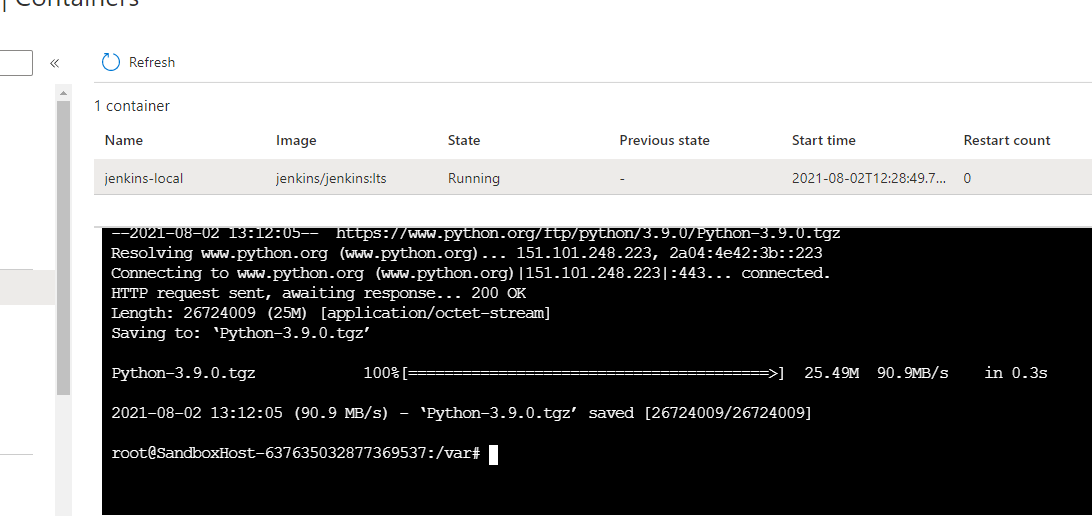
Uncompress the binaries#
tar -zxvf Python-3.9.6.tgzInstallating the Software properties common#
Before installting the Software Properties common update the container first
apt update
apt install software-properties-commonInstallation of Zlib#
apt-get install zlib1g-devBuild Essentials#
apt-get install build-essentialInstallation of More Essentials#
apt install -y libssl-devapt install -y libncurses5-devapt install -y libsqlite3-devapt install -y libreadline-devapt install -y libtk8.6apt install -y libgdm-devapt install -y libdb4o-cil-devapt install -y libpcap-dev
Pandas Packages Installation#
apt-get install libbz2-devMaking Directory#
mkdir pythonAll the python packages and files will be inside the python directory , now go back to the Python-3.9.0 and configure the installation to the Specific directory , the command is available below
Navigating to the Python Directory#
The python directory is changed to 3.9.0 -3.9.6 ,so kindly update there changes according to the new version.
cd Python-3.9.6
Configure Python Installation to Specific Directory#
./configure --prefix=/var/jenkins_home/pythonCompile and install#
*The Linux make command is used to build and maintain groups of programs and files from the source code. In Linux, it is one of the most frequently used commands by the developers. It assists developers to install and compile many utilities from the terminal.
makemake installInstalling PIP#
wget https://bootstrap.pypa.io/get-pip.py/var/jenkins_home/python/bin/python3.9 get-pip.pyYou can check PIP is installed or not by the following command
/var/jenkins_home/python/bin/python3.9 -m pip --version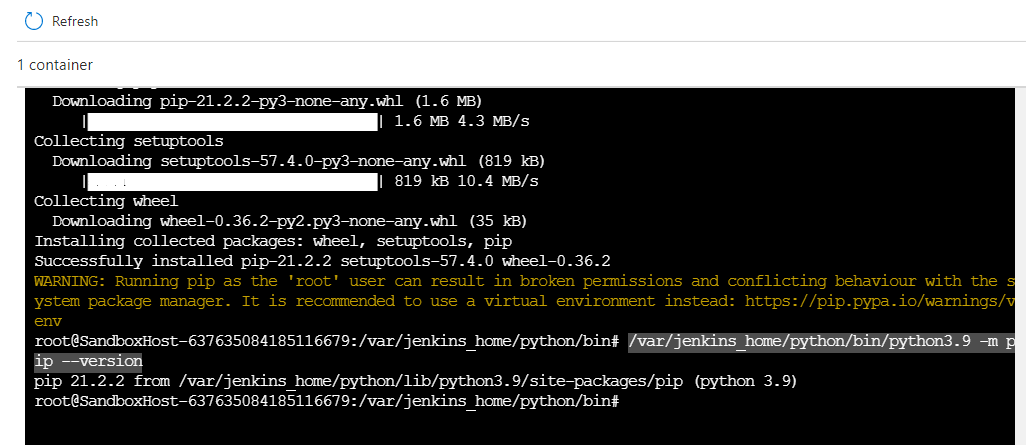
Installating VirtualENV#
/var/jenkins_home/python/bin/python3.9 -m pip install virtualenvGoogle Chrome Installation#
Download the Google Chrome Package using Wget
wget https://dl.google.com/linux/direct/google-chrome-stable_current_amd64.deb
and then update the azure container instance
apt-get updateand then installed the Google Chrome
apt install ./google-chrome-stable_current_amd64.debif you enter the command whereis google-chrome-stable it will return you /usr/bin/google-chrome-stable however this is non-persistent storage which Provided to you by the Microsoft Azure Container instance, however we can copy this binary to the Persistent storage volume folder and use in the Python Selenium code.
You can copy the binary using this command
cp -R /opt/google/chrome /var/jenkins_home/google-chrome-stablemake use you created the google-chrome-stable inside the jenkins_home which is our persistent storage.
and then add the line to your python code
chrome_optionss.binary_location = '/var/jenkins_home/google-chrome-stable/chrome/google-chrome'Please dont Stop , Restart or Terminate the Container Otherwise your Google Chrome will not be worked properly because , google chrome needed Linux Packages.
Jenkins Job#
Before starting the jenkins job , let verify the python and PIP Path.
to verify pip and python , i will use the following commands, as my python and pip installed in the Jenkins_home directory so my command will be look like this
/var/jenkins_home/python/bin/python3.9 --versionand PIP command will look like this
/var/jenkins_home/python/bin/python3.9 -m pip --versionafter verifying , now its time to build our first Job , as i already discuss , how to build your own Jenkins , You can go to this Setup.
Bash Script#
I am improving the bash automation on daily basics, the the bash script will look like this
#!/bin/bash
if [ ! -f /var/jenkins_home/workspace/KadeWeAutomations/chromedriver ]; then
LATEST=$(wget -q -O - http://chromedriver.storage.googleapis.com/LATEST_RELEASE) && wget http://chromedriver.storage.googleapis.com/$LATEST/chromedriver_linux64.zip && unzip chromedriver_linux64.zip
fi

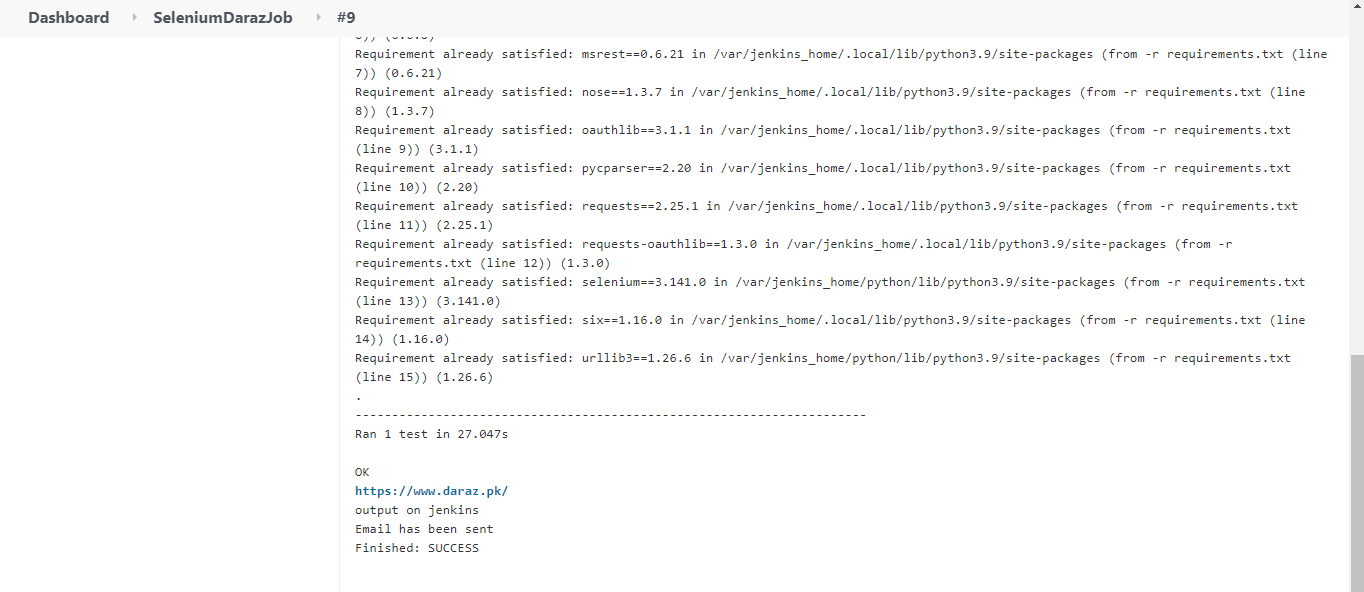
/var/jenkins_home/python/bin/python3.9 -m pip install -r requirements.txt/var/jenkins_home/python/bin/python3.9 -m unittest test_main.py
Conclusion#
As we learned , how to install jenkins , and use the python and Google chrome along with the chromedriver, so we can automate the process using serverless way . You can send the pull request if you find any kind of bug .
Mounted Multiple Volumes to Azure Container Instance Using Azure Resource Manager#
Refer to this ARM Setup for the Multiple Mount
